Avoid Burnt Bacon: Stovetop Tips for Crispy Perfection Every Time
There's nothing quite like the irresistible aroma of sizzling bacon, promising a salty, savory crunch to kickstart your day or elevate any meal. Yet, the pursuit of that elusive "perfectly crispy" strip can often lead to frustration – unevenly cooked bacon, some parts burnt to a crisp while others remain stubbornly chewy, or a pan full of smoke. Fear not, home cooks! Mastering
how to cook bacon on the stove is not a dark art, but a delightful skill that, with the right techniques, guarantees crispy perfection without the worry of burning, every single time. While the oven offers a hands-off approach, cooking bacon on the stovetop grants you unparalleled control, allowing you to tailor each strip to your precise desired doneness, making it a truly rewarding "labor of love."
The Foundation: Why Stovetop Bacon Reigns Supreme
Many home chefs default to the oven for bacon, praising its ability to cook large batches with minimal fuss. And while there's certainly a time and place for oven-baked bacon, there's a unique satisfaction and superior outcome that comes from frying bacon in a pan. The stovetop method offers immediate visual feedback and the ability to adjust on the fly, ensuring that beautiful, golden-brown crispness that's often harder to achieve evenly in the oven. It allows you to engage with the cooking process, observing the fat render, hearing the sizzle intensify, and ultimately deciding the exact moment your bacon reaches its peak. It’s about more than just cooking; it’s about crafting bacon that’s custom-made for your palate, offering a depth of flavor and texture that’s simply unmatched.
Mastering the Method: Step-by-Step for Crispy Perfection
Achieving truly exceptional stovetop bacon boils down to a few critical steps. Forget the guesswork and embrace these guidelines to elevate your breakfast game.
The Cold Pan Advantage: The Secret to Even Cooking
This is perhaps the most crucial tip for perfectly cooked, flat, and crispy bacon. Many cooks make the mistake of preheating their pan before adding bacon, much like searing a steak. However, for bacon, this is counterproductive. When cold bacon hits a hot pan, the protein seizes up immediately, causing the strips to shrivel, curl, and cook unevenly. This leads to frustrating hot spots where the bacon burns quickly, alongside softer, fattier bits that haven't rendered properly.
Instead, lay your bacon strips directly into a *cold* skillet. A heavy-bottomed pan, such as cast iron or stainless steel, works wonders for even heat distribution. Arrange the strips in a single layer without overlapping – more on that in a moment. Then, turn the heat to medium-low. This gradual heating allows the bacon fat to render slowly and evenly as the pan warms up. As the fat melts, the bacon cooks gently in its own rendered grease, shrinking uniformly across the entire strip. This controlled process ensures consistent crispiness from end to end, giving you beautifully flat, perfectly golden bacon. For an even deeper dive into this game-changing technique, explore our guide on
Cold Pan Bacon Secret: How to Get Evenly Cooked, Crispy Strips.
Patience is a Virtue (and a Crispy Bacon Maker)
It's tempting, especially when cooking for a crowd, to cram as many bacon strips as possible into your pan. Resist this urge at all costs! Overcrowding your skillet is a recipe for disaster. When bacon strips overlap, they essentially steam each other rather than fry, leading to flabby, undercooked pieces and significantly longer cooking times overall. To ensure every strip gets its moment in the sun (or, rather, its sizzle in the pan):
*
Cook in Batches: If you need a lot of bacon, cook it in batches. It might take a little longer, but the quality of each batch will be far superior.
*
Maximize Space Strategically: If your pan isn't quite large enough for full strips in a single layer, consider cutting your bacon strips in half crosswise. This often allows you to arrange more pieces without overlapping, letting you "play Tetris" with your bacon to fit snugly.
*
Consider Bacon Thickness: Thicker-cut bacon will naturally take longer to cook and render its fat, requiring even more patience. Adjust your expectations and cooking time accordingly.
The Goldilocks Heat Setting: Not Too High, Not Too Low
Once your bacon is in the cold pan, turn the heat to medium-low. This gentle approach is key.
*
Too High: A high flame will cause the edges to char and burn long before the rest of the strip is cooked through. The exterior will be blackened, while the interior remains chewy and undercooked. It also increases the risk of excessive smoke and grease splatter.
*
Too Low: While patience is good, a heat setting that's too low will extend the cooking time unnecessarily, leading to bacon that's greasy, limp, and lacks that desirable crisp texture. The fat won't render effectively, resulting in a less pleasant mouthfeel.
Medium-low heat provides the perfect balance, allowing the fat to slowly render and the bacon to gradually crisp up to a beautiful golden brown. You should hear a consistent, gentle sizzle, not a frantic roar. Be prepared to adjust the heat slightly as you go, especially if your stove runs hot or if you're using a pan that retains heat exceptionally well, like cast iron.
The Art of the Flip: Keeping an Eye on Crispy Edges
As the bacon cooks and its fat renders, it's essentially frying in its own delicious grease. As the volume of rendered fat increases and the bacon shrinks, the cooking process accelerates, especially towards the end. To prevent overcooking and ensure even crisping:
*
Flip Often: Start flipping your bacon strips every minute or so once they begin to firm up and change color. This promotes even browning on both sides and helps the fat render consistently.
*
Watch Closely: As your bacon approaches your desired level of crispiness, you'll need to flip more frequently – every 30 seconds or even less. This hyper-vigilance helps you catch any spots that are browning too quickly and prevent burning. Use sturdy tongs for precise control.
*
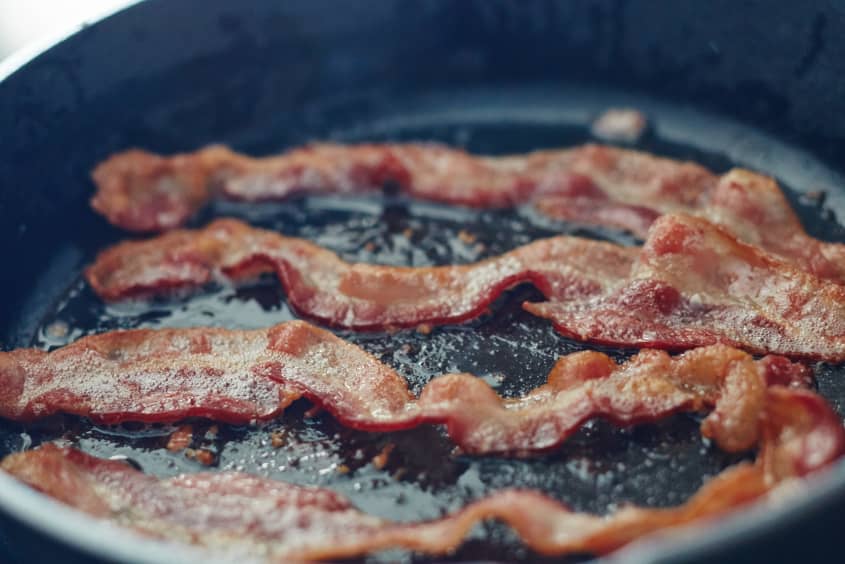
Look for the Right Color: Bacon is typically done when it reaches a deep golden-brown color and has a firm, slightly brittle texture. Remember, it will continue to crisp up slightly after it leaves the pan.
Beyond the Basics: Pro Tips for Next-Level Bacon
Once you’ve mastered the core techniques, consider these additional tips to truly perfect your stovetop bacon.
Drain and Save That Liquid Gold
Bacon grease is liquid gold in the kitchen, full of incredible flavor. As you cook, especially if you're doing multiple batches, you'll accumulate a significant amount of rendered fat in the pan.
*
Drain Between Batches: If the pan becomes excessively full of grease, carefully pour some of it into a heat-proof container (like a glass jar) between batches. Too much grease can cause the bacon to fry too aggressively or become submerged, hindering optimal crisping.
*
Wipe the Pan: A quick wipe with a paper towel can also help manage excess grease and any burnt bits, ensuring a clean slate for the next batch.
*
Save for Later: Store your strained bacon grease in a jar in the refrigerator. It's fantastic for sautéing vegetables, frying eggs, or adding a smoky depth to cornbread or other dishes.
The Paper Towel Rest
Once your bacon has reached its ideal crispiness, don't just dump it on a plate. Use a slotted spoon or tongs to transfer the cooked bacon to a plate lined with several layers of paper towels. The paper towels will absorb any excess grease, making your bacon even crisper and less greasy to the touch. Let it rest for a minute or two before serving.
Variables Matter: Adjust and Adapt
Remember, there's no single "magic" cooking time for bacon. Factors like your specific skillet (material, thickness), the strength of your stovetop burner, and the thickness and cure of your bacon all play a role. Sugar-cured bacon, for example, will brown and caramelize faster due to the sugar content. Learn to read your bacon – its color, the sound of its sizzle, and its texture – rather than relying solely on a timer.
Ultimately,
how to cook bacon on the stove perfectly comes down to finding *your* ideal crispiness. Some prefer a bendy, chewy texture with crispy edges, while others demand a brittle snap. Experiment with these tips until you discover your personal bacon nirvana. For more insights and advanced techniques on achieving the ultimate crispy strips, check out our comprehensive guide,
Master Stovetop Bacon: Your Guide to Perfectly Crispy Strips.
By following these stovetop tips, you'll consistently achieve bacon that's perfectly rendered, beautifully golden, and wonderfully crispy – never burnt. The patient, cold-pan method combined with vigilant flipping and moderate heat will transform your bacon cooking from a chore into a highly anticipated culinary experience. So go ahead, fire up that stove, and get ready to enjoy the ultimate crispy bacon, made just the way you like it, every single time.